Tuesday, April 22, 2014

'Deep in the Darkness' NYC Premiere details

So far I've tracked down one of the theaters showing Deep in the Darkness. 


The NYC premiere will be happening at Cinema Village. The screening time will be at 9pm.

For more information about parking, directions etc you can call up the theater at 212-924-3363 or visit their website at www.cinemavillage.com

Seating's limited, so grab you ticket soon.
Hope to see you there!

Monday, April 21, 2014

Gearing up for this Sunday's shoot

Soooo much to finishing up before this weekend's shoot! Make-up tests to finish, props to shop out, last minute casting holes to fill- I swear we'll get the hang of this eventually...

Tuesday, April 15, 2014

Deep in the the Darkness is hitting theaters soon!

My next feature is coming soon to a theater near you! Well, if you happen to be lucky enough to live near NYC or LA that is. What do you want? We're still awesomely indie. ;-)

This newest feature I production designed for the Chiller Channel with Synthetic Cinema International. This was an absolute blast to make. We were camped out in Moodus CT- slumming it in some creaking Victorian houses that were starting to show their years of neglect. This is a town who, in real life, has been home to mysterious thunderous sounds booming from inside the ground. But that, really, was just a brilliant coincidence.


Our movie is based on the novel of the same name by Micheal Liamo, which if you're too anxious to wait until the end of the month to find out more about the movie you could skip ahead and read the book: it's currently available to purchase on Amazon


Deep in the Darkness which stars Sean Patrick Thomas, Dean Stockwell, Kristen Bush, and Blanche Baker will be premiering in theaters on April 29 and on the Chiller Channel on May 23. For details on that tune in again soon.

But enough gibber gabber from me. Here's the important part, the link to the trailer on Youtube


Thursday, April 10, 2014

MAC650 Figure drawing

Tonight was figure drawing night the the MAC650 gallery.
So, here's the first sketch of the night, a 5 minute pose done in watercolors. 

It was so nice to have a model this evening that was more on the plus side. I really enjoy drawing body shapes that aren't the general athletic build. There's a wonderful beauty in those extra curves.


At this point I was still warming up,  however I'm pretty happy with how the face came out on this one. This was a 10min pose done with watercolors.


This was a 10 min pose, watercolor with pencil on top. I was really enjoying studying her hair but it was challenging trying to get those curls of hers to look fluid.

Here's the 30 minute sketch. Watercolor on paper with pencil on top. At this point during the session everyone was gently teasing me about using so many colors ('cause really, what ego driven person brings watercolors to a sketch session? This one.) So I added even more, even though I was kind of ready to monochromatic.


So for the last pose I went grey-scale. This was a 20 minute pencil sketch with a teensy bit of watercolor added to smooth out the shadows.

I really need to start tracking down more drawing groups. Once a month just leaves me wanted to do more. That's probably a good thing though. :-)

Tuesday, April 8, 2014

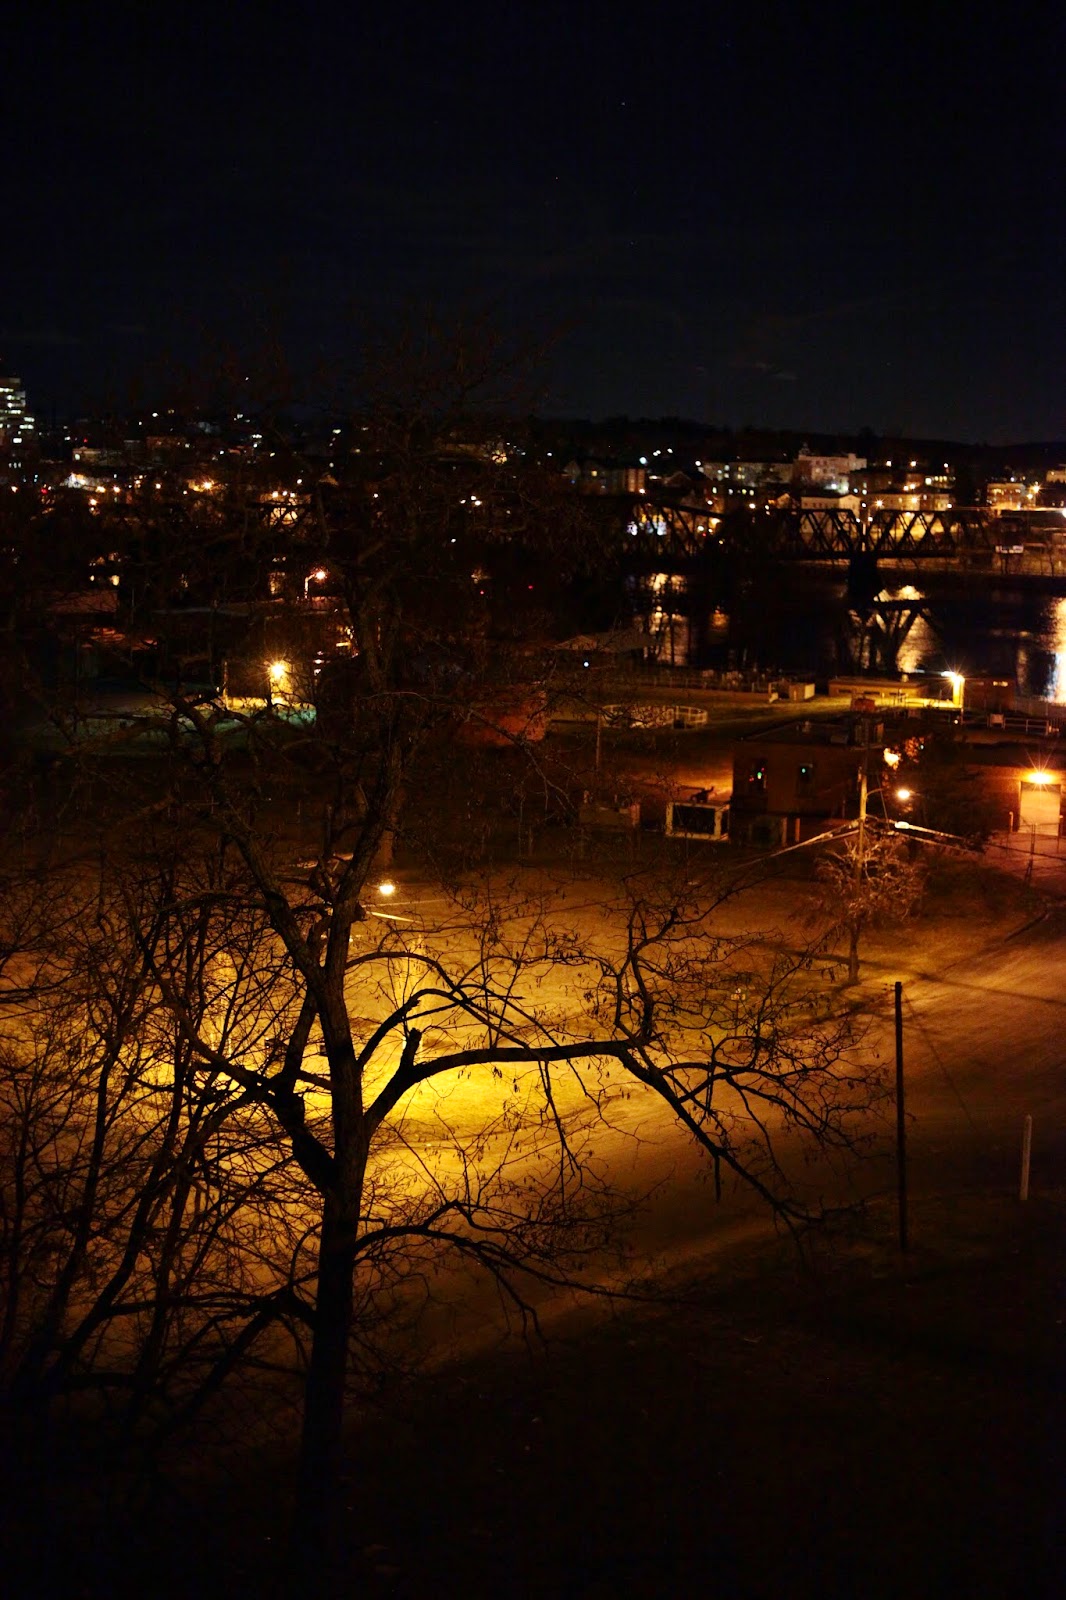
Night time photography in Middletown CT

Here's a little late night stroll over the bridge in town as an excuse to play with the Cannon5D and the 1980's 50mm Nikon Lens :-)


Wednesday, December 18, 2013

Blood, Sweat, and Google Sketch-up

Since you've been such good readers all year I have an early Christmas present for you.
A tale of perseverance, blood shed and Google sketch-up renderings. 

Once upon a time I was the production designer for an amazing little indie project. I had found myself in a position of power on a project that felt like I was heading off to climb mount Everest in a t-shirt. And I wanted to do everything in my power to not only survive, but to conquer the beast.

During this project I was actual able to do some real pre-pro. And I took that to mean make renderings of everything. One of the most important scenes was to take place outdoors, lit by fire and artificial moonlight alone. It was getting down to the last minute to find just the right location for it. And after much hunting we decided on one that had a stone tower set at the top of a cliff. The plan was to shoot this pivotal scene at the top of the tower so the whole world could be seen disappearing into the distance behind the actors.  Epic, right?

I, on my quest to be the overzealous designer, decided that I wanted to do real, honest to goodness renderings of the location, measured out and everything. My researching of the interwebs lead me to the realization that the tower was way too narrow for the scene we had dreamed up. So I grabbed my sketchbook and measuring tape and went to the location on my own to see what could be done about it's short comings.

When I arrived I discovered that the roads to the top of the cliff were all blocked off. But my spirit of adventure was not to be dampened. I packed my purse up, tightened my brand new work boots and started my hike. At first I enjoyed the scenery, the fresh air and sunlight, happily taking a pictures on the way. 

An hour later, my feet already sore, I made it to the top. And the tower's top was, as I'd feared,  too small for our plans. I took more pictures, measured things, noted what few outlets there were, and then headed back down.

It was the most painful walk of my life. 

Remember when I mentioned the brand new work boots? Yeah, they were steel toed work boots. You should never wear steel toe boots while hiking. Ever. By the end of my hike my brand new boots were full of freshly shed blood. And-- to put it lightly-- the heels of my feet were no more.


At any rate the ordeal was not in vain. I got the information I needed to design around the size problem. Below you see the fruit of my labors. Also, I'd like to mention that these were my first attempts at creating organic shapes with Google sketch-up.

ground plan of the area


GP- close-up on the scene

For the next two renderings I printed a screen view of the Sketch-up model to PDF, and then altered it in photoshop for a little lighting enhancement.

google sketch up model
post Photoshop


Google Sketch-up model


post Photoshop

They're not amazing, but I was pretty satisfied at my initial stab at organic Sketch-up shapes. And they more than certainly got the job done.

And yes, my heels grew back no problem. It was a dumb decision to go on that hike, but I'm still glad I went. Because now, when things get rough, I can always think back to that hike and be reminded that no matter how bad it may get, I've already survived worse for the sake of art.

Merry Christmas! May your new shoes remain blood free and your head full of determined creativity.

Monday, December 2, 2013

Brainstorming how to make gunshots for film

First idea: fill your own paintball pellets with dust for dust shots or a teensy bit of gun powder for spark shots.

The Major Paintball Mine-Fill Smoke Simulation Powder. It is used in most mines to simulate the effect of smoke following mine detonation.


Second idea, set of non-launching fireworks or firecrackers remotely:


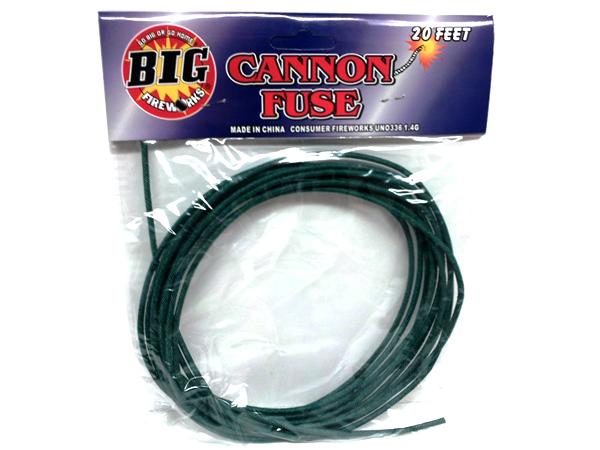
20' of regular slow burning cannon fuse. Burn rate = about 21 seconds per foot. $5.00

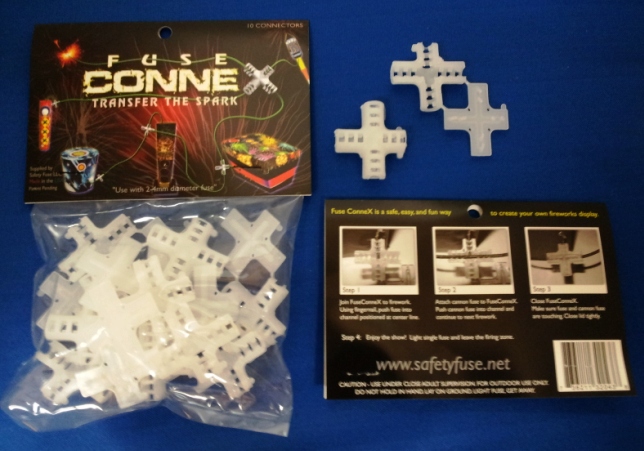
Pack comes with 10 connectors. lay fuses inside the grippers, fold it, and you have a solid connection. So all you have to do is light one use and you can have a whole line of things go off. $2.50 a pack.

We could use the fuse and connector with small fireworks, hide them under dirt, and watch them go off as if it were a rain of gunshots hitting the floor.

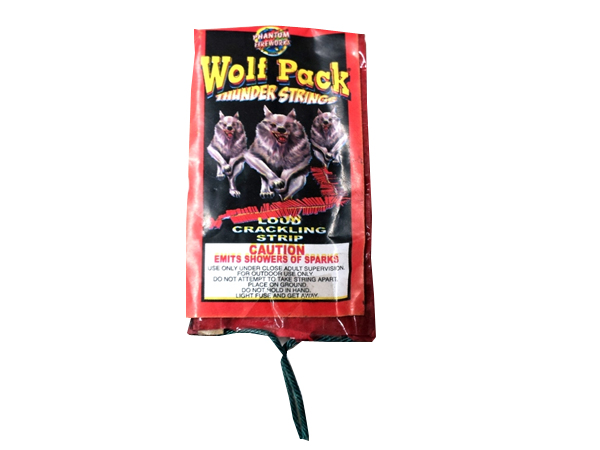
We could fuse some firecrackers together for some safer sparking action:
$0.25 for a pack of 12

jumping jacks, strip of 100. 6 long strips of jumping jacks. $6.00

Another thought is to add elements in the set that show damage to things, like smoke:
The Sport Smoke PB-200 smoke bomb is designed for the paintballer and hobbyist alike. Both compact and affordable, the PB-200 is the most affordable Smoke Bomb, and is ideal for many applications.

Features:
  • Fuse ignition: no Haz-Mat shipping charge
  • Thick smoke, good hang time
  • Easy to handle and carry
  • Biodegradable
  • "Cool burning" Non-Pyrotechnic Smoke
  • Made in the USA
  • Fire Mechanism: Fuse
  • Smoke Output: 20,000 cubic feet
  • Duration: 75 sec
  • Dimensions: 2.75"×1.5"
  • Weight (lb): .2


*Haz-Mat shipping note: This grenade is NOT subject to a Haz-Mat fee, as it requires an open flame to light it. All other Sport Smoke grenades are subject to Haz-Mat fees. All products with pull ring igniters subject to a $30.00 Haz-Mat fee per box imposed by the carrier plus a $5 handling fee.


I'm going to have to test these thoughts out before we get to set. And I'll certainly be posting the video here once I do :-)